Newsy
Help

Overview

Why Newsy?

Feature walk-through

Your first site
Domain

Overview

Setting up via CNAME

Setting up via Cloudflare API

Setting up via Newsy

Enabling HTTPS

Example Walk-Through

GoDaddy Example

AWS Example

Accessing via sub-path

Email forwarding

Sending email from GMail
Contents

Categories

Contents via RSS feeds

Contents via keywords

Applying filters

Contents via API

Content Submission

Content via AI
Driving traffic

The Newsy Way

SEO

Membership

Newsletters
Integration

Verification

Auto Posting

Setting up Slack

Setting up Discord

Setting up Mastodon

Setting up Teams
Monetizing

Overview

Advertising platforms

Managing ads

Tackling Ad-Blockers

Selling your domain

Sponsored posts
Paid membership
Other options & settings

Analytics
Google Search Console

Inbox

Translation

Widgets

Private site
Using categories organize your contents
Back to Dashboard
As you add contents to your Newsy site, you might want to think about organizing them better to give a structure
and at the same time allowing your users to find things faster.
You can create your own categories and sub-categories in Newsy
to achieve this.
Categories
To manage your categories, go to the Categories section within your Newsy admin panel.
Here, you will be able to add, update and delete categories.
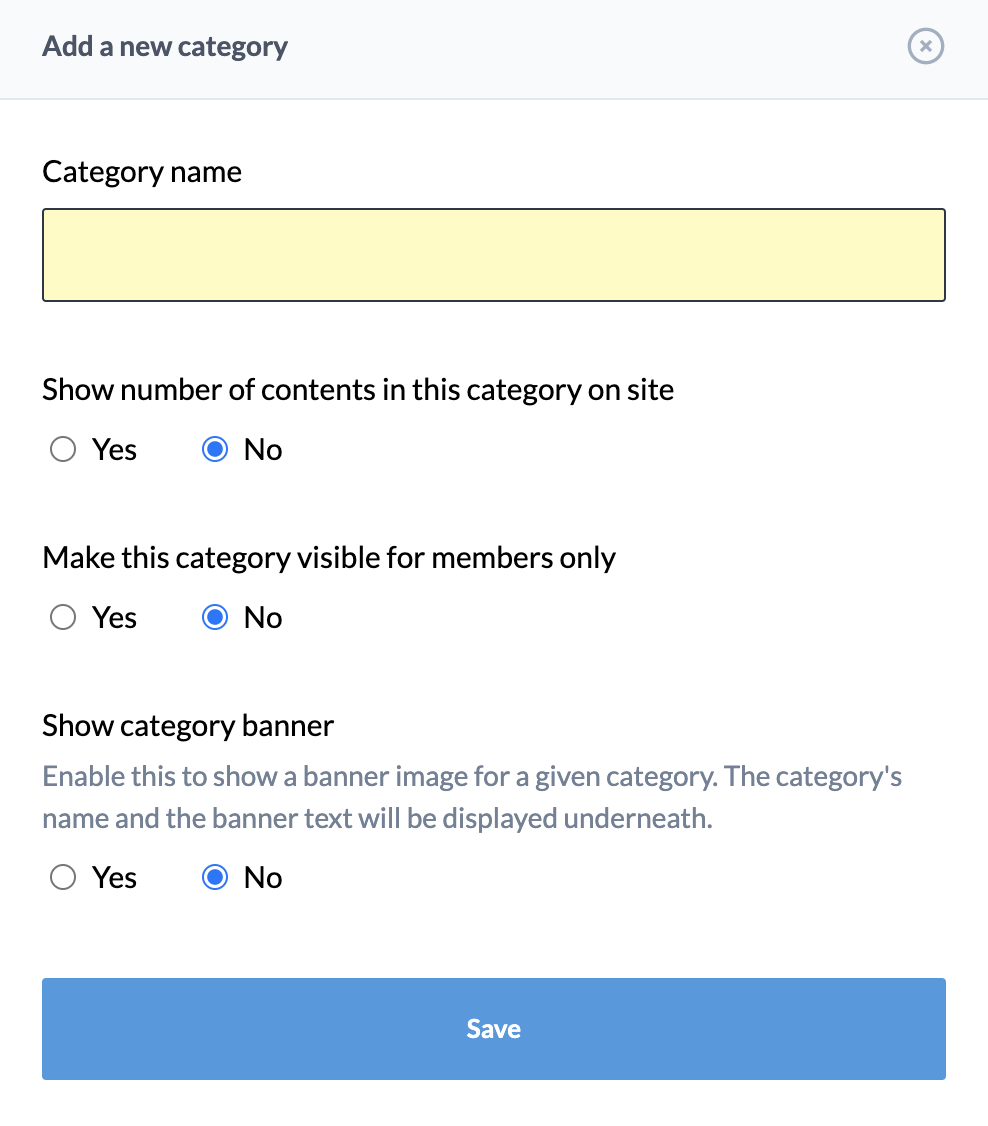
When you add categories (as shown in the image above), you have several options. First, you can choose to show the number of contents
next to each category on your site. Usually the categories will be displayed as navigation items and for each category, a number of
contents available will be displayed.
You can also make the category Members Only, meaning that only registered users will be able to see
the contents belonging to this category.
Next you can also set Category Banner. This option allows you to choose an image that will be displayed when
this category is selected.
Sub-Categories
You can also add Sub-categories to further organize your contents. This can be done by clicking on
+ Sub-category button. The options to add a sub-category are identical to adding a category. When you add
a sub-category, they won't appear in the main category table. You will need to click on the sub-category link, which will show
a pop-up of sub-categories.
Using categories
There are several places throughout Newsy where categories are used. First, when you source contents from either
RSS feeds or keywords, you can assign
their contents to a specific category.
Newsy also provides RSS feeds and your visitors can access your RSS feeds based on specific category.
Lastly, by default, sub-categories are hidden when your site loads. However, you can choose to show them automatically when the site loads,
which is available in Content Settings page.
